The instructions in this article are only applicable to MyWorkDrive installations using Active Directory for user identity. SAML SSO configuration is only required/supported when using Active Directory. Entra ID Installations use a native Microsoft login.
OneLogin SAML Overview
Security Assertion Markup Language (SAML) is an open standard for exchanging authentication and authorization data between parties, specifically between an identity provider and a service provider. As its name implies, SAML is an XML-based markup language for security assertions (statements that service providers use to make access-control decisions).
MyWorkDrive Server 5.0 supports SAML-based Web File Manager Single Sign-On (SSO) in addition to ADFS (which is configured separately). For SAML, MyWorkDrive acts as a Service Provider (SP) while OneLogin acts as the identity provider (IdP).
This document provides streamlined MyWorkDrive integration with OneLogin starting with version 5.2. For version 5.0 or to manually configure SAML view our manual SAML configuration article here.
OneLogin SAML Setup
MyWorkDrive is listed as an approved Enterprise Application in OneLogin.
Note our instructions below are streamlined, and starting with MyWorkDrive Server version 5.2, we can simply input the “Issuer URL” from the OneLogin App Configuration details to automatically configure MyWorkDrive for OneLogin Single Sign-On.
Prerequisites
- A OneLogin account with Administrator Privileges.
- Ensure users have a UPN suffix applied for the domain name to match OneLogin Login name so they can log in to your MyWorkDrive server with their email address.
- Ensure the MyWorkDrive server is trusted for delegation as per our Delegation Article.
- Ensure your MyWorkDrive server is accessible on the internet for client login (web, mobile, map drive). Enable the Cloud Web Connector or set up your own public SSL Certificate and Hostname pointing to your MyWorkDrive server over port 443 (SSL) View Support Article.
Identity Provider Configuration
- Log in to OneLogin.
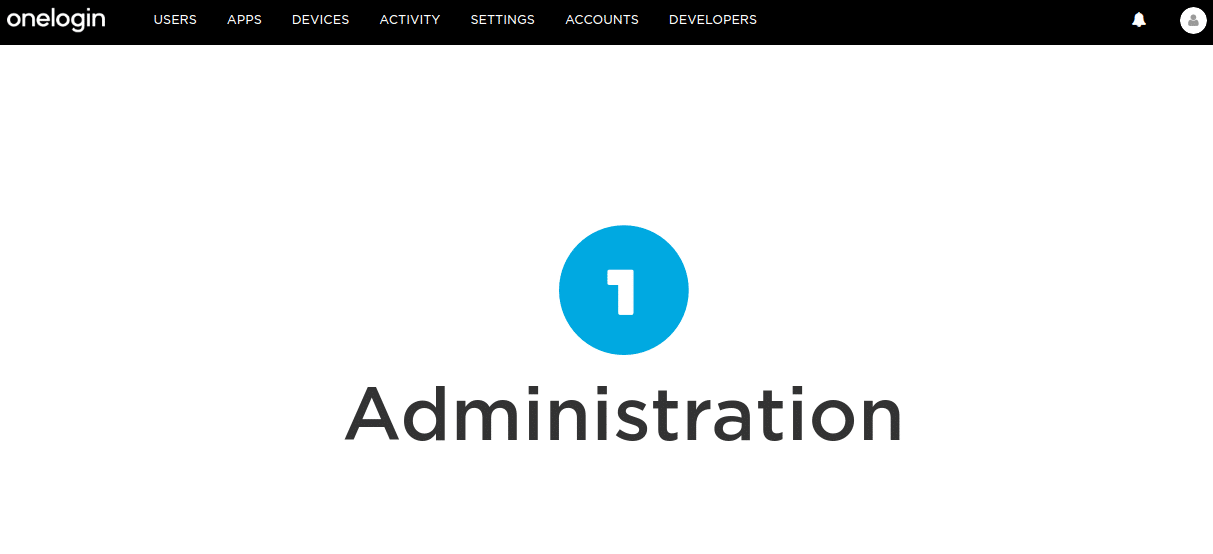
- Click the Administration option.
- Click the APPS tab and then the Add Apps shortcut.
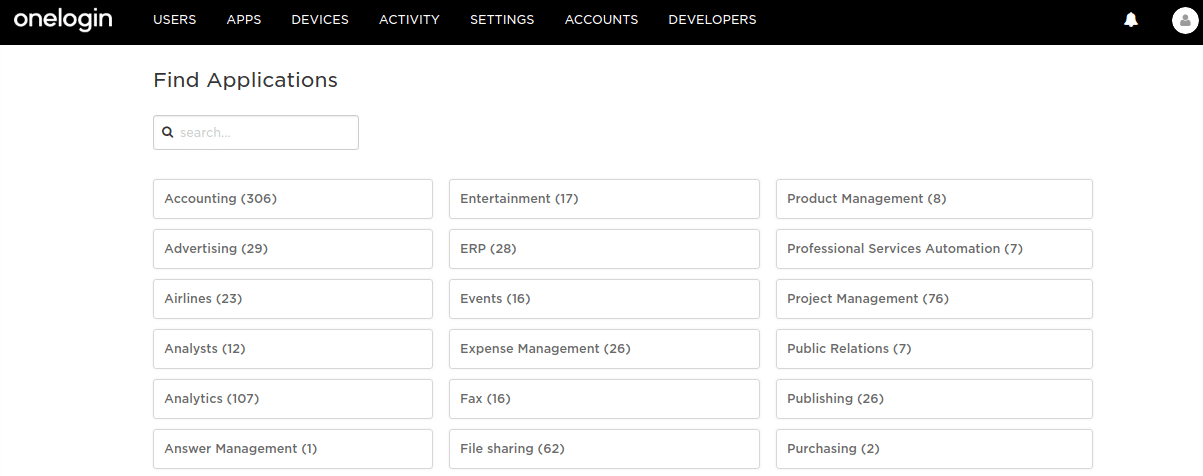
- In the search field, enter SAML and then select MyWorkDrive.

-
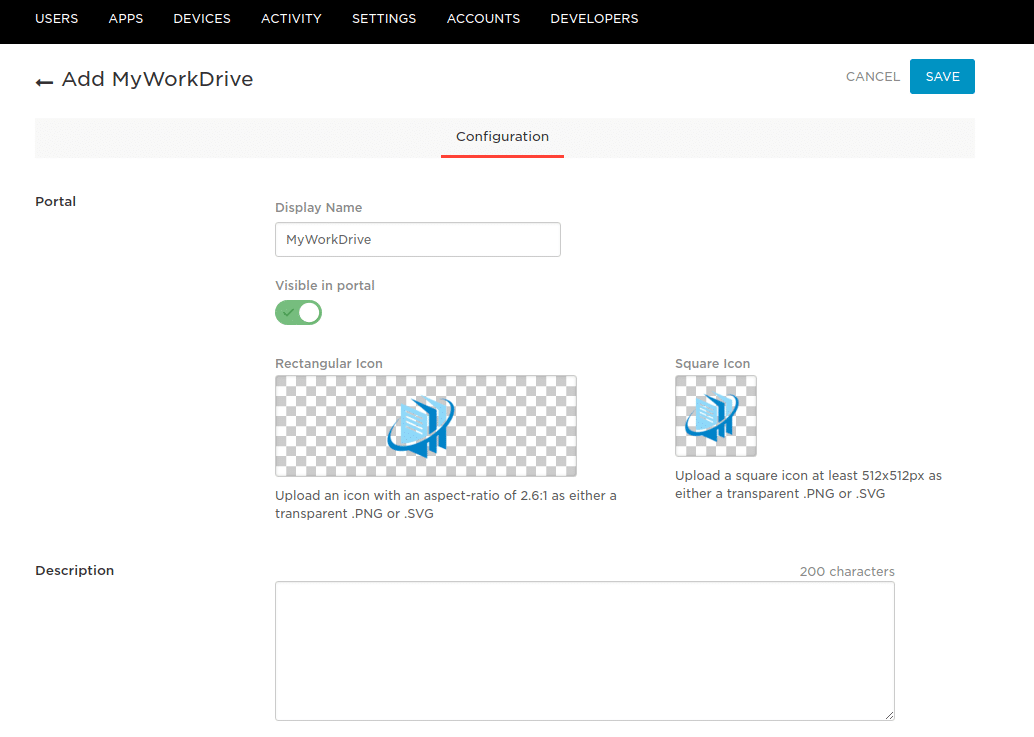
Specify a Display Name and set your icons, and click Save. Note that if you use a different display name from MyWorkDrive, you will need to change the default name in the Enterprise Settings in the MyWorkDrive admin panel.
-
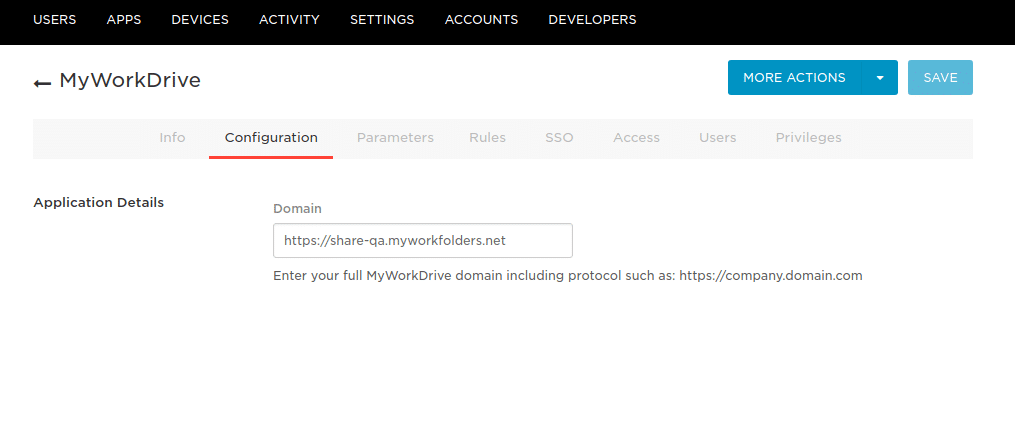
In the Configuration tab, specify the *Domain. Note that the Cloud Web Connector proxy domains (.myworkdrive.net) are not compatible with SAML providers, and you must use a direct connection, as described in the prerequisites section.
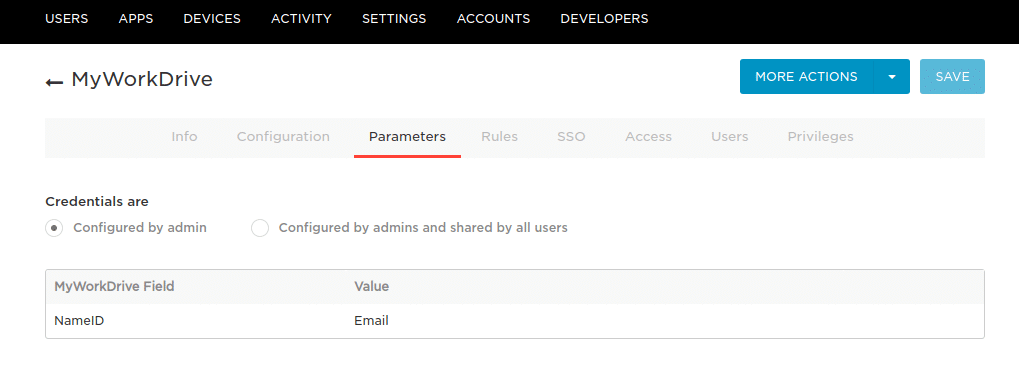
- In the Parameters tab, verify that it is set as shown below.
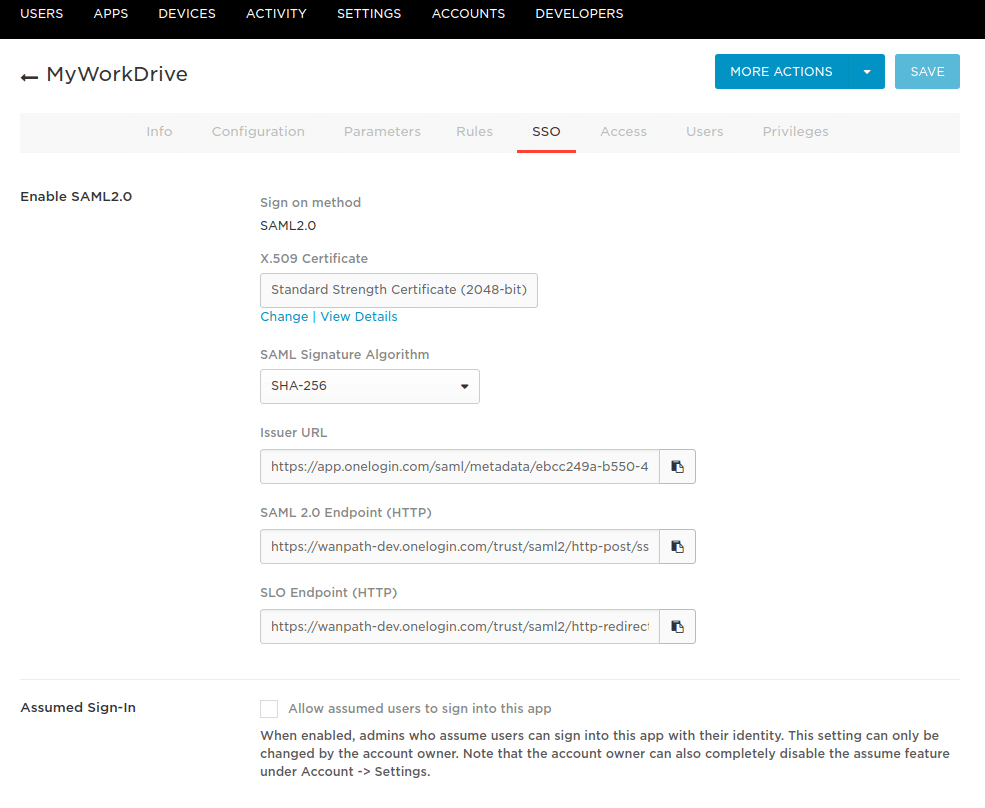
- In the SSO tab, change the SAML Signature Algorithm to SHA-256, then use the copy icon for the Issuer URL to copy the OneLogin Metadata URL. We will paste this into the MyWorkDrive server during the server setup process. Click Save.
Adding Users
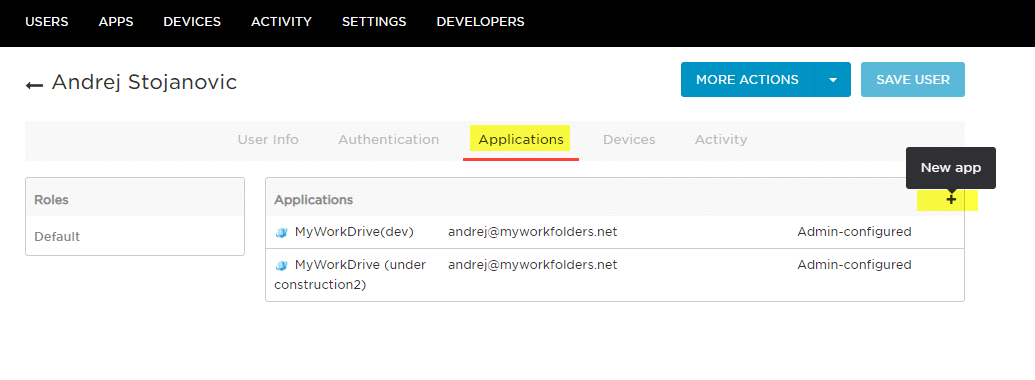
Remember to add users to your App in OneLogin. From the main menu, click on Users, then find the users or groups you wish to assign access permissions.
If assigning by user, click on the user to get details, then click on Applications.
Click the + and search for MyWorkDrive.
Make sure that Enabled is checked and that the NameID is correct (when appropriate).
With users assigned, you may now proceed to the MyWorkDrive Server Configuration.
MyWorkDrive Server Configuration
The following instructions are updated for MyWorkDrive 5.2. If you are using a prior version of MyWorkDrive, please see our manual SAML configuration article here or upgrade to MyWorkDrive 5.2 or later.
- Log in to the MyWorkDrive server.
- Click on the Enterprise tab from the menu.
- Enable SAML/ADFS SSO at the top of the Enterprise options page.
- This will open up the SAML/ADFS SSO options panel. From the drop-down down choose OneLogin SAML.

- In the “Identity Provider Metadata URL” box, paste the URL for Issuer URL, which you copied in OneLogin setup earlier.
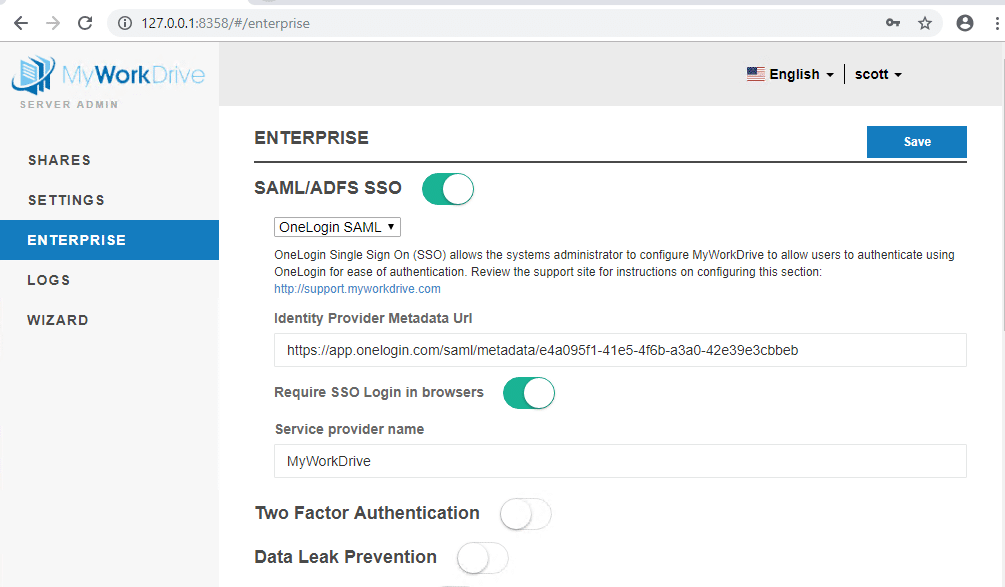
- Optionally enable the Require SSO Login in browsers. This will require users to log in through OneLogin on the Web client. SSO login is also supported in mobile and mapped drive clients 5.2 and greater.
Remember to click Save when complete. The save process may take slightly longer than normal as the MyWorkDrive server connects to the OneLogin Metadata URL and downloads the configuration.
Proceed to testing your new OneLogin SAML SSO login.
Test OneLogin-initiated SSO
- Log in to OneLogin.
From the applications menu, click on MyWorkDrive. If MyWorkDrive is not listed, go back to the User Assignment step above and assign users as appropriate.

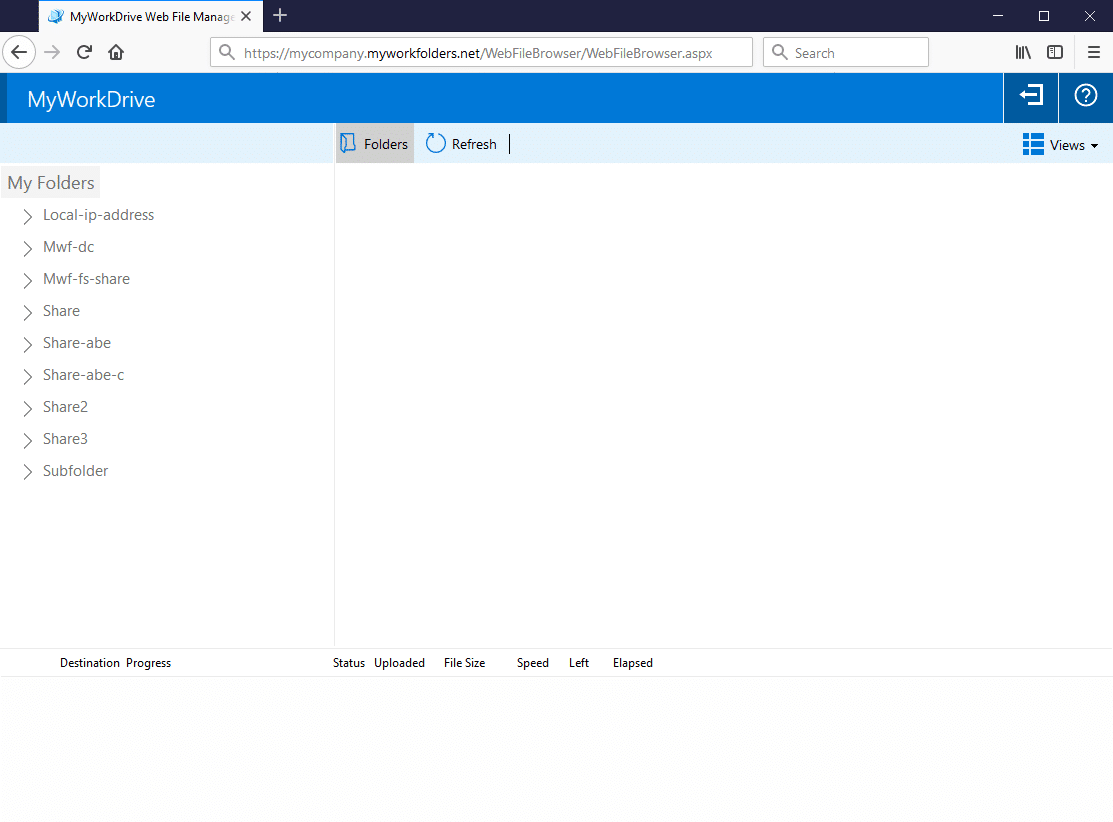
- After successful login, you are automatically redirected to the MyWorkDrive server.
MyWorkDrive Initiated SSO
- Browse to the URL of your MWD site (or go specifically to the SAML URL if you do not have browser SSO required - /Account/Login-SAML.aspx, for example, https://myworkdrive.example.com/Account/Login-SAML.aspx, and you will be automatically redirected to OneLogin.
- Log in to OneLogin using your credentials, and you will be automatically logged in to MyWorkDrive.
Your MyWorkDrive OneLogin SAML SSO Configuration is now complete.
If you are missing shares in the folder list when logging in via the SAML provider, the reason for that is missing or incorrect server delegation settings. Please ensure the MyWorkDrive server is trusted for delegation as per our Delegation Article.
Troubleshooting
See our Troubleshooting with SAML Tracer article for information about using SAML-tracer to profile the SAML login flow and authentication errors.