Provisioning Local and SMB storage with EntraID Authentication
If leveraging our new implementation of Entra ID Authentication, local storage and SMB storage will need to be configured a bit differently, as NTFS permissions will no longer be referenced.
Security Considerations
When leveraging our Entra ID Authentication, the NTFS permissions of the local or SMB shares will use a named user account or "service account", and will not use the NTFS permissions of the logged-in user. For clarity, this only applies to our Entra ID authentication method and not our Active Directory authentication method. User/group permissions will be handled within MyWorkDrive. As a result of this change, the desired folders will need to have specific permissions configured on the local/SMB for MyWorkDrive to be able to access them.
Local Share
For a local share on the MyWorkDrive server itself, the default configuration is to leverage the Local System account. Local System will be given full control of the folder. It is possible to specify your own username and password for this share, instead. Additionally, there is an IIS service account – WanPath.Storage.API - that will be given Full control permission to the specified folder. The IIS service account handles the saving process and performs error checking to ensure the connection is valid.
A local share would typically be used for testing or when shares are stored directly on the MyWorkDrive server itself.
SMB Share
For an SMB share, a named user who has NFTS rights to the share (aka a "service account") will be configured in MyWorkDrive during initial configuration. The service account should have both full control security permission and be given full control sharing permission. Granular user and group permissions will be configured within MyWorkDrive for user access/permissions for share root and client access control.
SMB shares would typically be used when there is data stored on a local file server to the MyWorkDrive server which you wish to make available to MyWorkDrive users who are signing in with their Entra ID credentials only, and no local Active Directory is available.
Configuring Local Share
There are two opportunities to configure a local share. Once during the installation and another after installation.
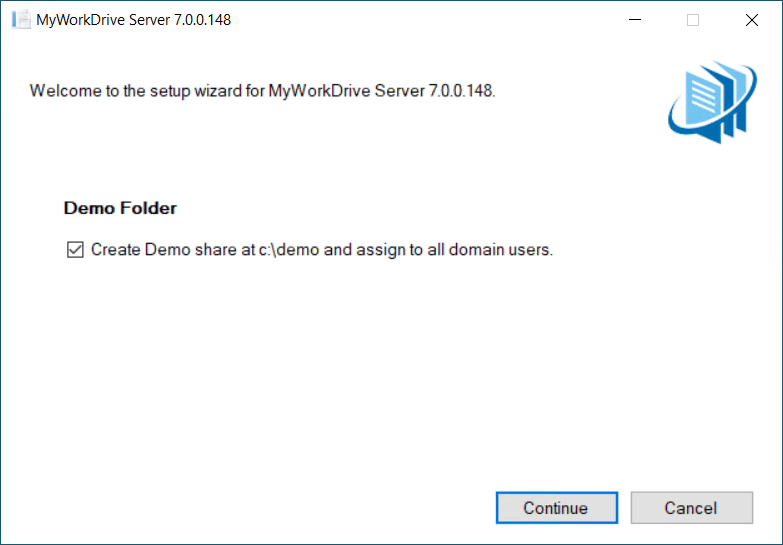
During Installation
During installation, you will be asked if you’d like to configure a local share for demo purposes. If you leave the checkbox selected, it will create a folder at C:\Demo and configure it to give both Local System and WanPath.Storage.API has the appropriate permissions. That folder will then be shared with all users using the MyWorkDrive built-in group “All Azure AD Members,” which will allow all users with accounts in Entra ID to access this share through MyWorkDrive.
After Installation
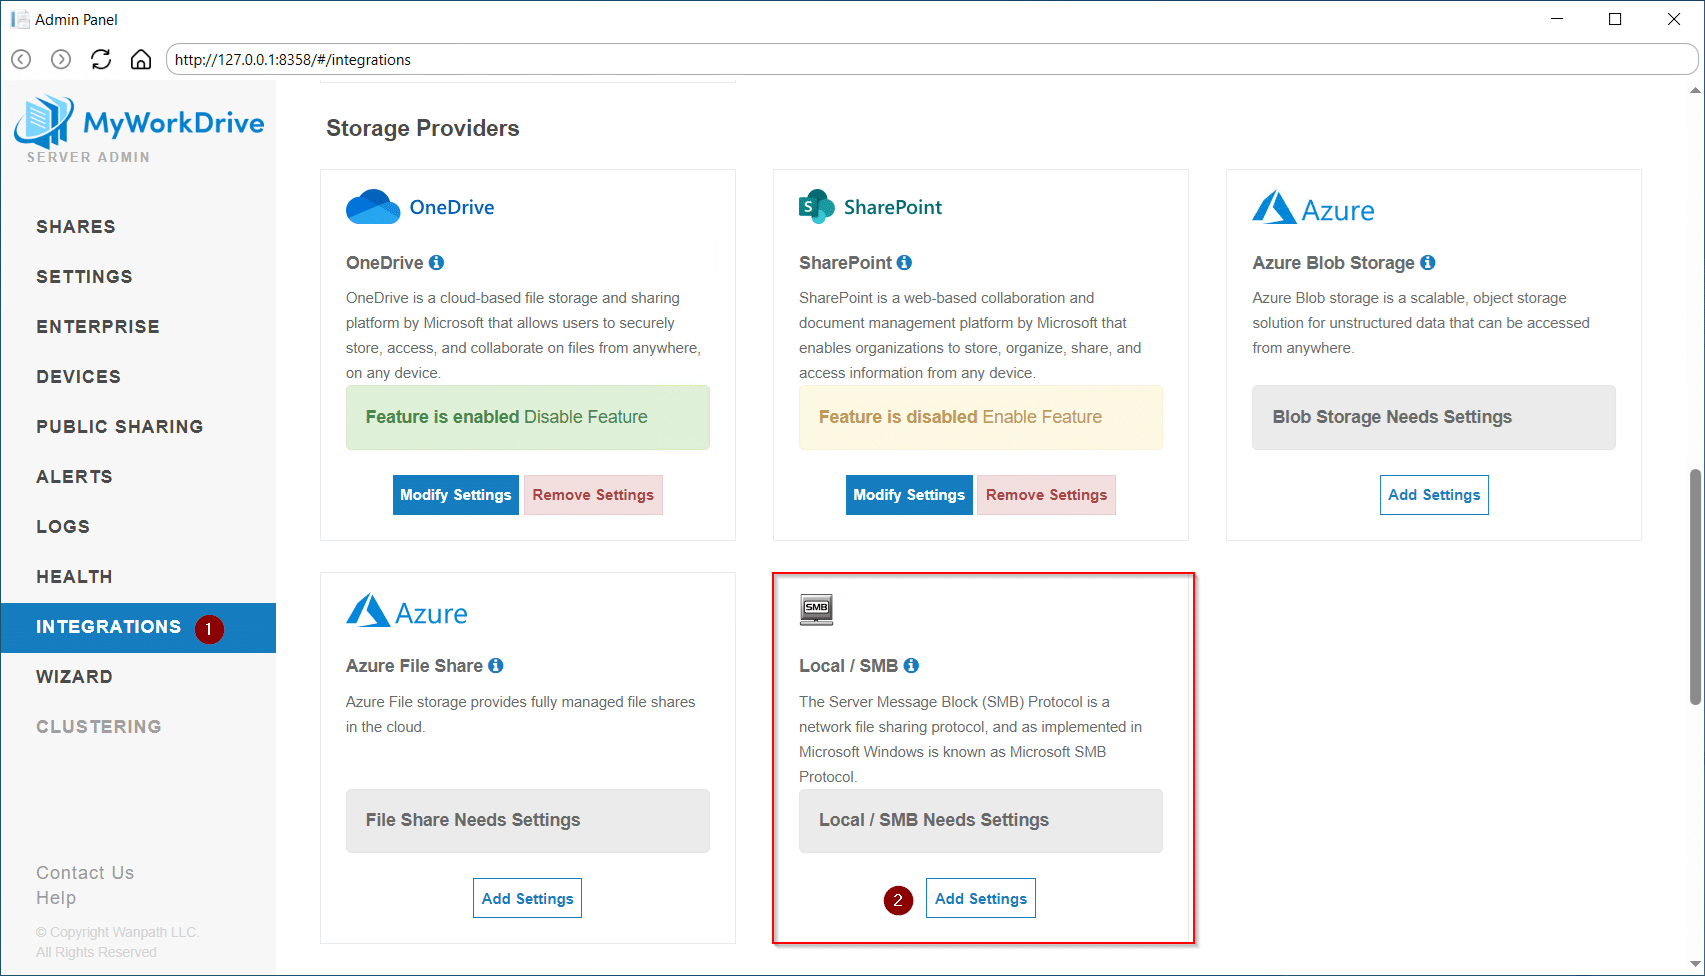
Navigate to the Integrations tab, scroll down to Storage Providers, and select Add Settings or Modify Settings under Local / SMB.

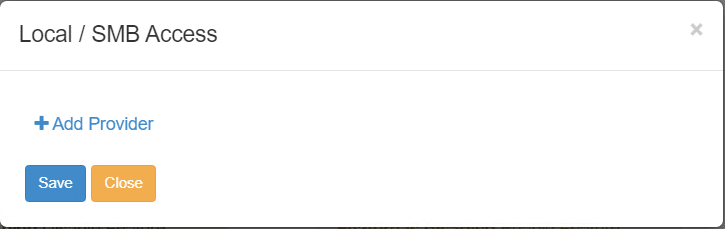
Select Add Provider.
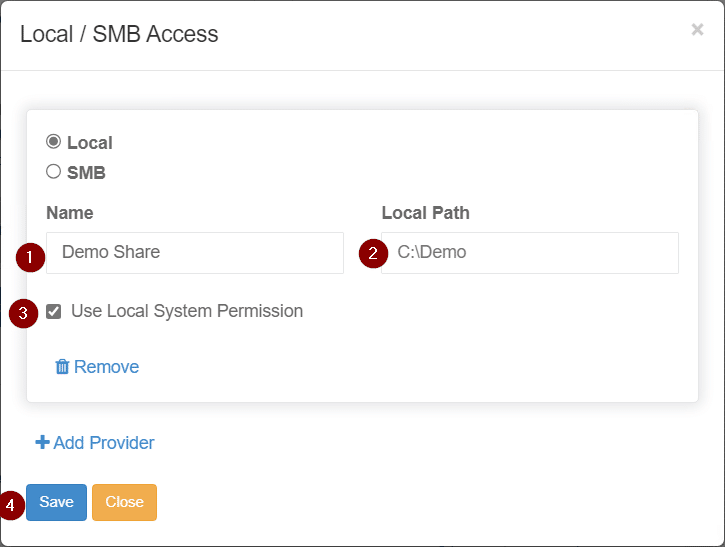
Choose a name for your local share, enter the path for the local share, and choose to either use the local system permissions or enter service account information and select Save.
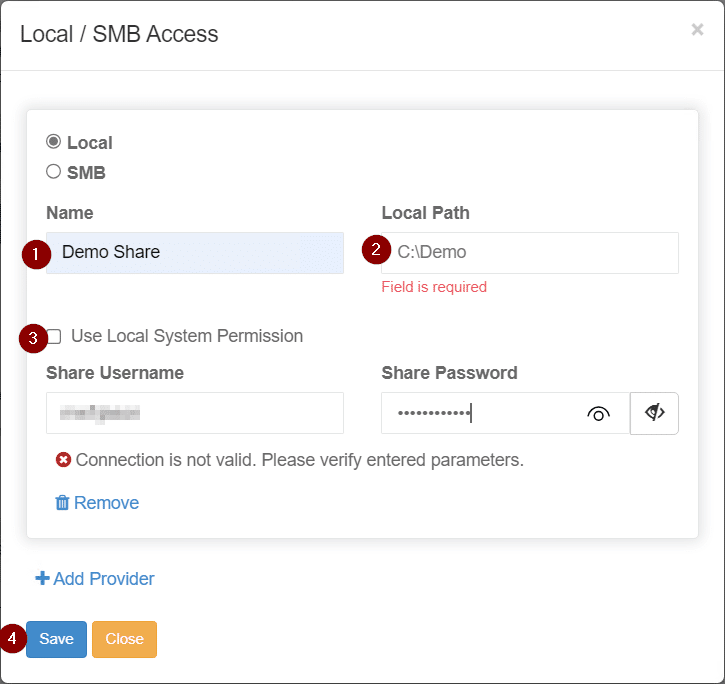
In our examples, you will note a warning message that the connection is not valid. The setup page in Integrations will test your connection and confirm if it is valid or not. If you do not notice a green check mark and confirmation during setup, double-check your settings.
Configuring an SMB Share
With Entra ID authentication, SMB shares will require a service account. The service account should have both full control security permission and be given full control sharing permission. Granular user and group permissions will be configured within MyWorkDrive for user access/permissions. SMB shares are added after MyWorkDrive is installed/configured; there is no setup prompt during the installation process.
After installation:
Navigate to the Integrations tab, scroll down to Storage Providers, and select Add Settings or Modify Settings under Local / SMB.
Select Add Provider.
Change the radio option to SMB, enter a name for the SMB share connection, enter the Share Path, enter a service account with full control permissions to the share, and select Save.

In our example, you will note a warning message that the connection is not valid. The setup page in Integrations will test your connection and confirm if it is valid or not. If you do not notice a green check mark and confirmation during setup, double-check your settings.