Overview
Steps to install and manage SharePoint Azure AD Permissions using Wanpath Sites.Selected Manager Web Part
Microsoft Graph now provides the option to set granular Azure AD App permissions level using the new Azure Graph API Sites.Selected option instead of granting permission for all the sites in the tenant. The permission Sites.Selected does not provide access to any SharePoint site collections for the application unless the Azure AD application has been assigned the permission roles read or write by an Admin. In this article and video, we show how to grant an Azure AD application permission (Read or Write) to a SharePoint site using the new Azure Graph API Sites.Selected option using our SharePoint Sites Selected Manager Web Part.
Prerequisites
Log in to portal.office.com using an account with SharePoint Admin permissions (do not log in using incognito/in-private as the web part will fail to load in that mode).
-
Deploy wanpath-site-selected-manager-solution.sppkg to app catalog.
-
Go to SharePoint Admin - Approve API permissions from https://[domain]-http://admin.sharepoint.com/_layouts/15/online/AdminHome.aspx#/webApiPermissionManagement|admin.sharepoint.com/_layouts/15/online/AdminHome.aspx#/webApiPermissionManagement"
-
Create the app catalog as needed
-
If you don’t already have an app catalog, create one. This article describes the process.
-
Go to More Features on SharePoint Admin Page
-
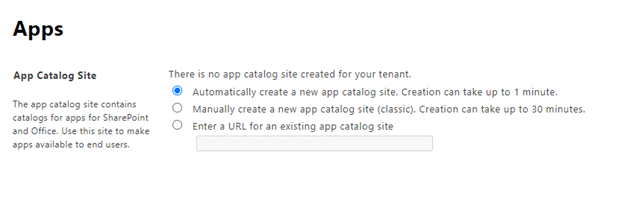
Click Apps, then click App Catalog
-
Automatically create a new app catalog site.
-
Upload Wanpath Sites Selected Web Part
Click Distribute App for SharePoint.
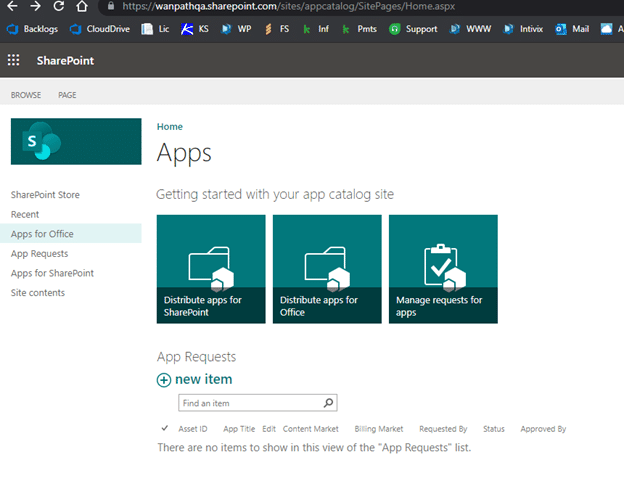
Upload our SharePoint Site Selected Manager Web Part to your SharePoint site. It can be downloaded here from our website.
Extract the .sppkg file from the download before uploading it to your SharePoint site.
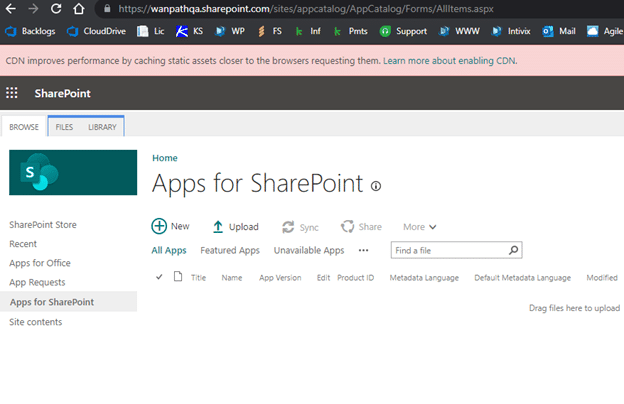
Click Deploy.

Return to SharePoint Admin.
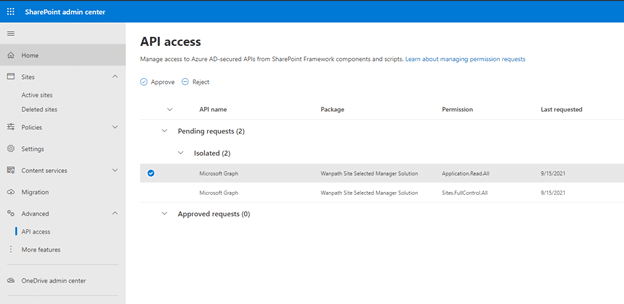
Approve API Access.
Go to Site-admin.sharepoint.com > home > advanced > API Access (this takes a few moments to load and might show some warnings while loading), then click approve for both Microsoft Graph permissions.
Add Web Part App to Site
Add the Web Part to the MyWorkDrive Office Online Edit page.
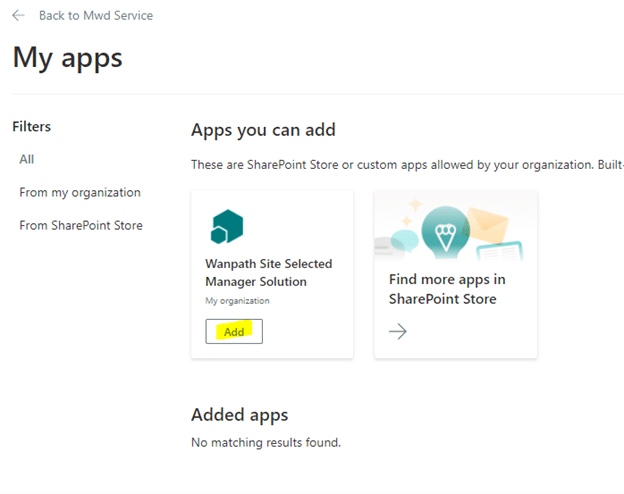
Select the App after clicking Add.
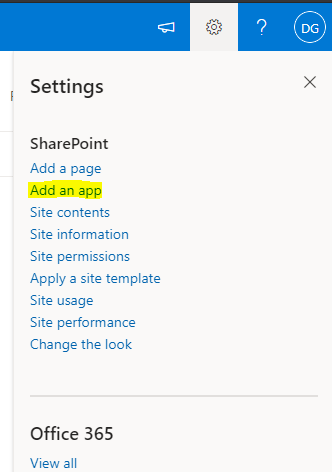
Go to Edit Page and add a Web Part.
Choose Site Selected Manager.

Add Azure App Permissions to Site
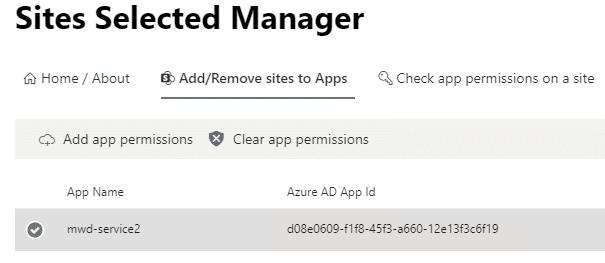
Using the newly added Web Part, click Add/Remove sites to Apps.
All App registrations requesting application sites.selected graph API Permissions will be listed.
Highlight your newly created Azure AD App ID.
Click Add app permissions in the menu above the list of permissions.
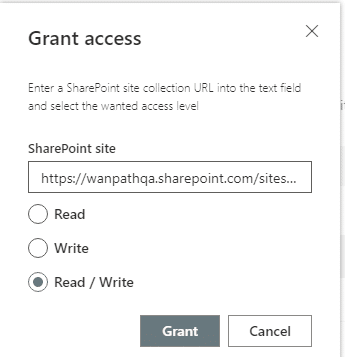
Input your SharePoint MyWorkDrive Service URL – e.g., https://company.sharepoint.com/sites/mwdservice
Choose Read/Write.
Click Grant.
Permissions will now be granted.
Optionally, check app permissions on a site to confirm after entering the site URL.
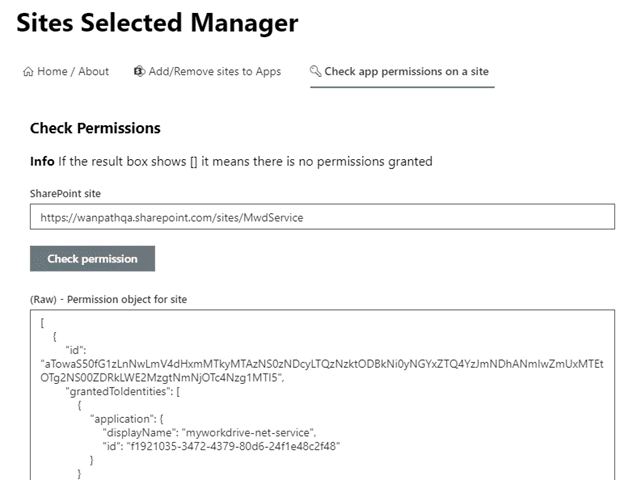
This can be used to verify your changes were accepted or double-check if an app has previously been granted permission.
Once this process is complete, you can use MyWorkDrive with SharePoint Service mode for Office Online editing. Be sure to complete the setup in the Settings tab of the MyWorkDrive admin panel to enable it for your users.